New Fixed Asset
The New Fixed Asset screen is used to enter a new fixed asset into the database. A Fixed Asset is an asset that is unique across all sites and locations. A computer with its unique serial number is an example of a fixed asset.
Note for Mobile Device Users: Assets can be added on an iOS or Android mobile device.
Accessing New Fixed Asset Screen
Adding New Fixed Asset
View/Edit Fixed Asset
Instant New Widget
Accessing the New Asset Screen
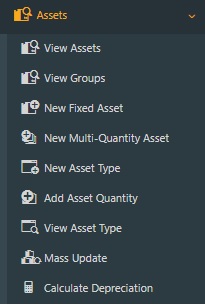
Click on Assets > New Fixed Asset.
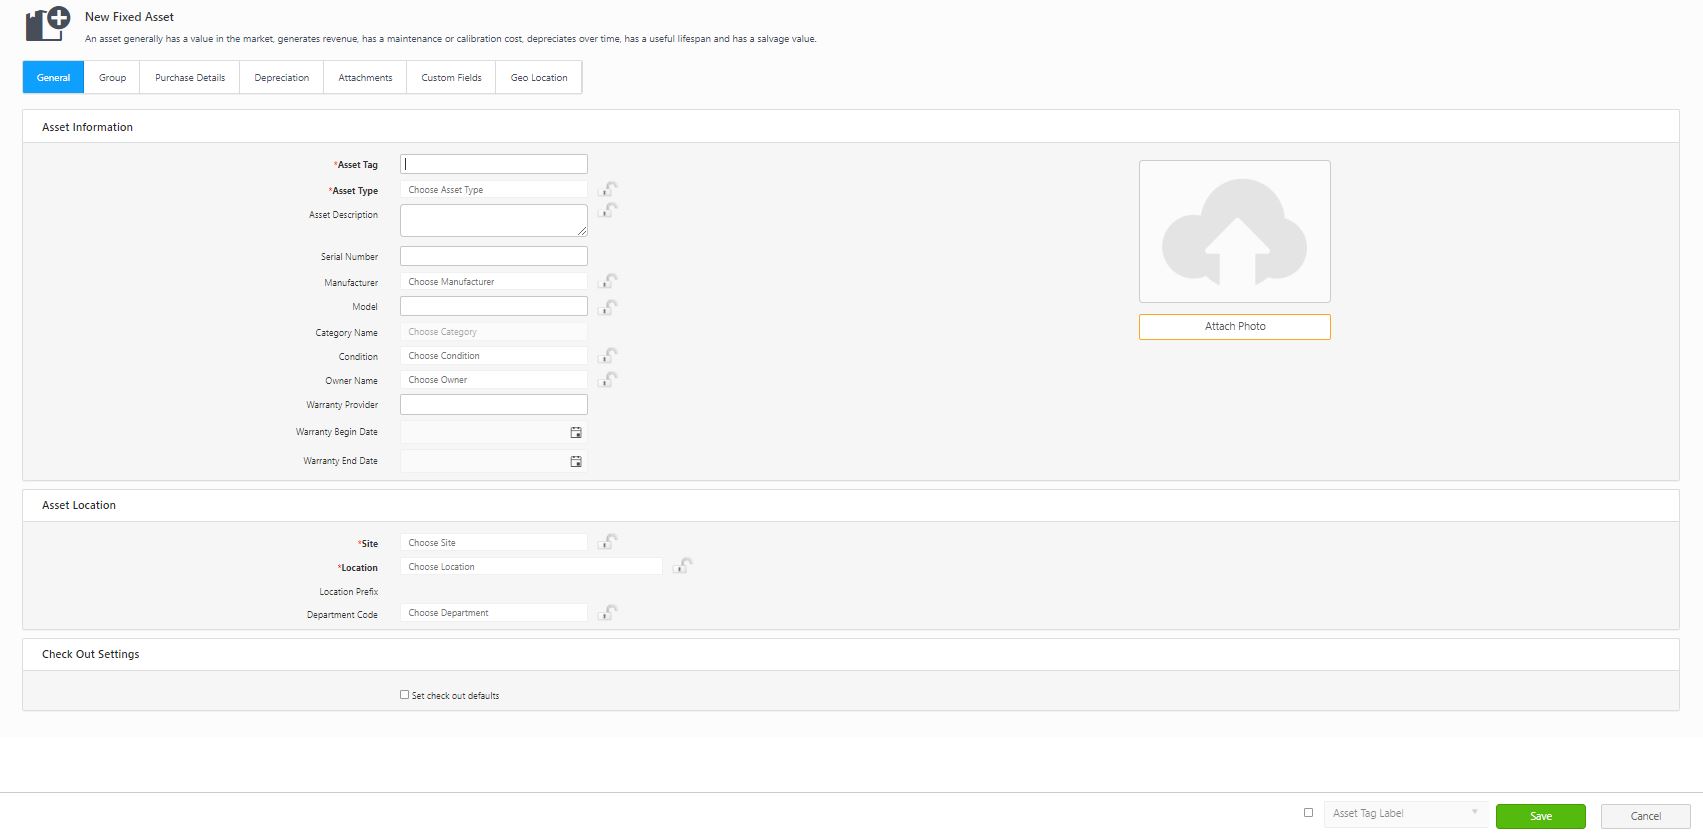
The New Fixed Asset screen will appear.
Adding New Fixed Asset
General Information Tab
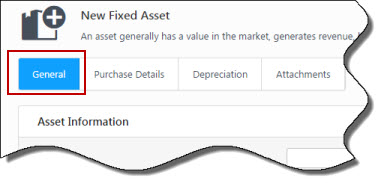
The General tab contains basic information about the asset, such as the asset tag number, serial number, the asset type to which the asset is assigned, the asset location, etc.
Asset Information Section
- Asset Tag (required) - Enter the asset tag. It is a unique identifier for the asset in the Asset Cloud database. The tag can be letters, numbers, or a combination of both. The asset tag is printed and attached to the physical asset. An asset tag usually contains a barcode for quick identification and tracking.
When the Automatic Asset Tag setting is enabled, the application will generate a unique tag for each newly created or duplicated asset.
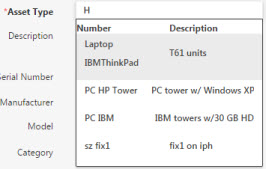
- Asset Type (required) - Enter the Asset Type. You can also use the down arrow on the keyboard to view the existing Asset types or type the text. The application will search as you enter the text and return a dropdown list of matching entries.
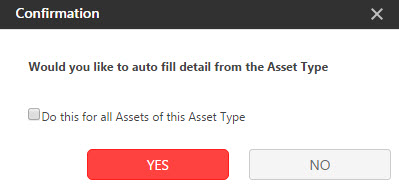
After selecting an Asset Type, a confirmation popup will appear. In this popup, the user will be presented with the option to automatically populate details from the selected Asset Type. When you click the "Yes" button, the fields in the General tab will be filled with the information you previously entered for that particular asset type during its creation on the New Asset Type screen. You can choose either "Yes" or "No" based on your preference. If you wish to apply this action to all assets created for this specific Asset Type, you can also check the checkbox provided.
Optional Fields
Note: These fields will be filled in automatically if you choose to auto-fill from the Asset Type when prompted.
- Asset Description - Enter the description of the asset type.
- Serial Number - Enter a unique serial number here. All serial numbers must be unique across the system.
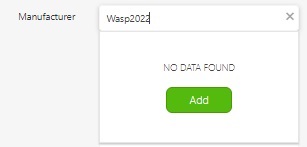
- Manufacturer - Select a manufacturer for this asset. Remember that if you change the manufacturer here, it will only change it for this individual asset, not all assets in this asset type. To add a new manufacturer, enter the name and click Add.
- Model - Optionally, enter a model number for this asset.
- Category - Optionally, select a category for this asset. Categories are created by the user (there are no default categories in Asset Cloud) using the New Category screen.
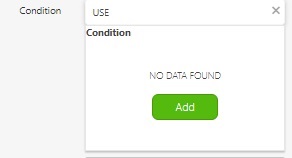
- Condition - Optionally, select the current condition of this asset. To add a new condition, enter the name and click Add.
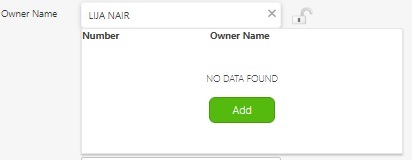
- Owner Name - Optionally select the owner's name. To add a new owner, enter the name and click Add.
Note:
- New Fixed Asset: If the Synchronize Owner and Asset DCF values option is enabled in the settings, then on selecting an owner, the custom fields associated with the chosen owner namer name will automatically populate with the matching asset field values filled during the owner asset creation. Changes are only persistent if the user chooses to save changes to the asset. Also, note that the user can make further modifications to the values if desired.
- View/Edit Fixed Asset: If the Synchronize Owner and Asset DCF values option is enabled in the settings, then on updating/changing an owner, the custom fields associated with the selected owner name will automatically populate with the matching asset values filled during the owner creation. Changes are only persistent if the user chooses to save changes to the asset. Also, note that the user can make further modifications to the values if desired.
- View/Edit Employee (Owners) - If you edit an employee record, any changes you make to the matching DCF values will automatically be synchronized to all the assets owned by that employee.
- Warranty Provider - Enter the warranty provider.
- Warranty Begin Date - Select the start date of the warranty.
- Warranty End Date - Select the end date of the warranty.
- Attach Photo - To attach an image, follow the steps below:
- Click on the Attach Photo button.
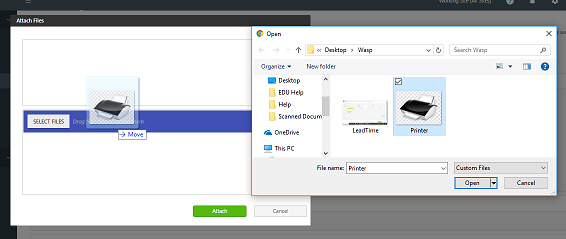
- Click on the Select Files button. Browse the folder, select the image, and click on the Open button. Or drag the image from a folder and drop it into the Attach Files window. Make sure that the Select Files area is highlighted before dropping, as shown below:
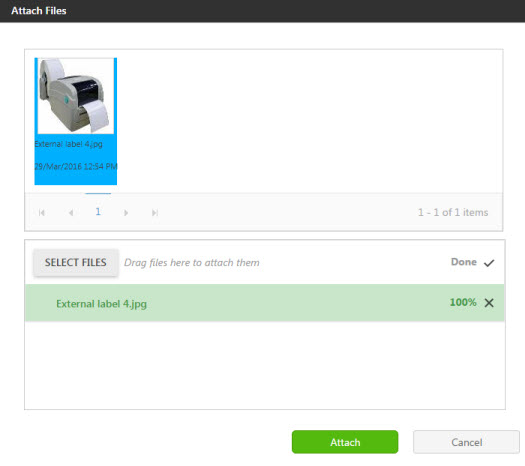
- The Image you attached will appear in the window. Click on the Attach button. The photo will appear in the photo section. Click on the Change Photo to access the Attach Files screen and select a different image.
For instructions on how to add a new entry in the following fields: Manufacturer, Department, Condition, Location, Site, and Employee (Owner field), please refer to the topic Instant New Widget.
Asset Location Section
- Site - (required) Select a site by typing in the field. As you type, Asset Cloud will return locations that contain the numbers/letters you have entered.
- Location - (required) A place within the site. A site can have many locations. Assets are assigned to a specific location. For example, Rm102 might be a location within the site's corporate office.
- Department - This is an optional classification you can create to further define asset location.
Check Out Settings Section
Select the Set check out defaults checkbox if you want to set limits for the length of time an employee/customer can check out an asset.
- Check Out Length - Set the days, hours, and/or minutes for which an asset may be checked out.
- Check Out Lead Time - Set the days, hours, and/or minutes after check in before an asset is available to be checked out again. This time allows for recalibration, cleaning, etc.

Group Tab
A Group is an asset. You can add multiple assets in a group. So the group will act as a container (i.e., a parent) holding multiple assets (i.e., the child assets). A child asset is a sub-asset that is attached or associated with a parent asset. The location of an asset in a group is the top-level location where the group resides.
Click on the Group tab on the New Fixed Asset screen.

- Is Group - Click on the "Is Group" checkbox to make an asset "a group".
- The checkbox "IsParent" is a read-only field. It shows that the asset is a parent. It will be checked once you select the "Is Group" checkbox and add assets to it.
- Transact As Whole - This checkbox is enabled when "Is Group" is checked. When you click on the "Transact as Whole" checkbox, it means that when you perform a transaction on any child's assets, the whole group will be transacted, and you will see the parent group in the transaction grid. This checkbox/option is not mandatory.
- Audit As Whole - This checkbox is enabled when "Is Group" is checked. When you click on the "Audit as Whole" checkbox, it means that when you perform an audit on any child assets, the whole group will be audited, and you will see the parent group in the transaction grid. This checkbox/option is not mandatory.

Add Assets
The Add Assets button is enabled once the asset is set as a "Group" i.e., when "IsGroup" is checked. You can add assets to the Group.
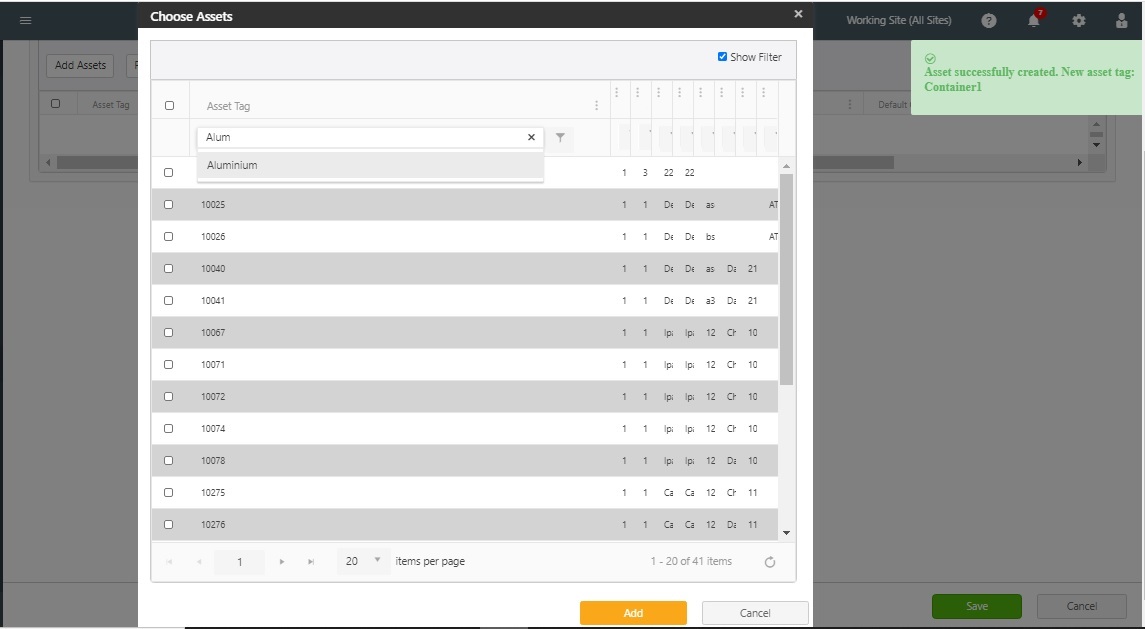
- Click on the Add Assets button. Choose Assets screen will appear. The screen will list the assets along with Add and Cancel buttons.
- Select the assets you want to add to this group and click on the Add button. A move transaction is performed on the background of all the selected assets to move them into the group.
Note:
- While adding the assets, note that the newly added fixed asset will be saved in the backend. A message will appear indicating that the Asset is successfully created.
- To include quantity for MQ assets within a group, modify the "qty" column while adding them. Follow these steps: Navigate to Fixed Asset > Group, click the "Add Asset" button, select the MQ asset, and edit the quantity.
- All the assets added using the Add Asset button will appear in the Group tab.

Remove Assets
- To remove asset(s) from a group, select the asset by clicking on the checkbox and then click on the Remove Assets button.

- A confirmation message will appear. Click on the Remove button again.

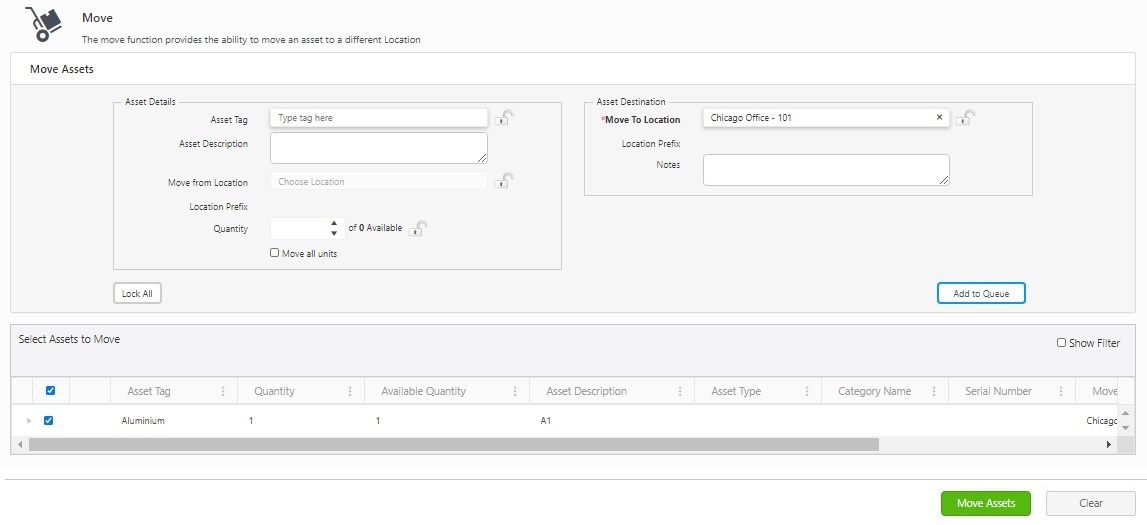
- The screen will navigate to the Move screen, where you can move the asset to another location. Refer to the Move topic.
Purchase Details Tab
The Purchase Details section allows you to record basic purchase information about the asset, such as Vendor, Purchase Order, Purchase Date, and Cost. The Purchase Cost must be entered if you want to calculate depreciation for this asset. To view/edit this information, ensure the Purchase Details tab is selected on the New Fixed Asset page.
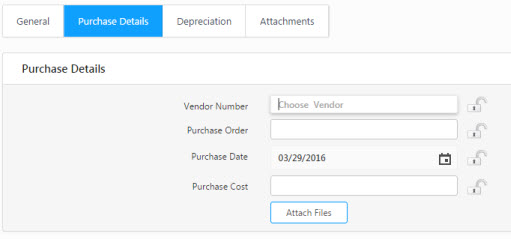
The following fields are available on this screen:
- Vendor Number - Select the vendor from whom you purchased this asset. You can type a full or partial name in the Vendor field to see a list of matching vendors or add a new vendor.
- Purchase Order - Enter the order number for this purchase.
- Purchase Date - Enter the purchase date of the asset. Enter the date in dd/mm/yyyy format or click on the Calendar icon to select the date.
- Purchase Cost - Enter the purchase cost for this asset.
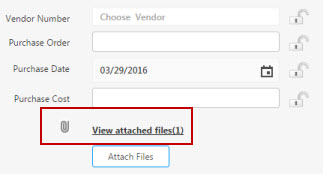
- Attach Files - You can also attach a file, such as a purchase order. To attach files, select the Attach Files button. The Attach Files screen will appear. Click on the Select Files button. Browse the folder, select the file and click on the Open button Or drag the file from a folder and drop it into the Attach Files window. Make sure the Select Files area is highlighted before dropping. Refer to point 3.
- The attached file will appear above the Attach file button. Click on the File Link to view, edit, or delete. You can edit the name of the file.
Depreciation Tab
The Depreciation settings in the New Asset Type screen must be checked for the Asset type selected by you in the General tab. If the depreciation settings are not checked for the asset type, the depreciation screen will display a message indicating that "Assets of this asset type cannot be depreciated."

To add the Depreciation details:
Note: Assets must have a purchase cost before you set the depreciation. Make sure to enter the purchase cost in the Purchase Details tab.
- Click on the Depreciation tab.

- If you want to calculate depreciation for this asset, select Yes, this Asset depreciates over time and has a salvage value checkbox on the Depreciation tab. The depreciation options will appear.

Note: The Depreciation Class is set on the Asset Type screen and cannot be edited here.
- Enter the date from which you want to start calculating deprecation in the Depreciation Begin Date field.
- Enter a Salvage Value for this asset. The Salvage Value is the estimated sale price of an asset at the end of its useful life. Last Depreciation Date, Total Depreciation, Current Depreciation, and Book Value are view-only fields that are calculated for you by Asset Cloud.
Attachments Tab
To add an attachment (an image or a document) to this asset, click on the Attachments tab.
Note that the picture attached in the General tab will also appear here.

To add an attachment:
- Click on the Attach Files button.
- Click on the Select Files button. Browse the folder, select the file and click on the Open button Or drag the file from a folder and drop it into the Attach Files window. Make sure the Select Files area is highlighted before dropping.
- The file you attached will appear in the window. Click on the Attach button.
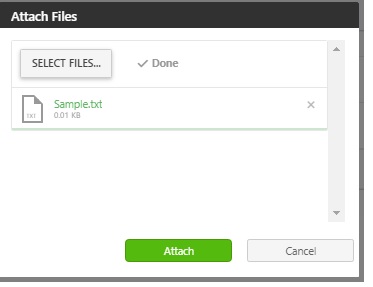
- The file will appear in the attachment tab.

- The file name can be edited by clicking the Edit button. After editing, click on the Update button. The file can be deleted by clicking on the trash can button.
- Offline Mobile Attachment - Click on the checkbox if you want the attached files to get downloaded automatically in the mobile application. Refer to Downloading Attachments.

Custom Fields Tab
If the custom field is configured for the asset type, then the custom field tab will appear. Enter the required details and save.
Geo Location Tab
Geo Location tab will help you to add the location of an asset. Click on the Geo Location tab.

Get Location
Click on the Get location button.
A "Know your location" pop-up message will appear. Click on the Allow button.

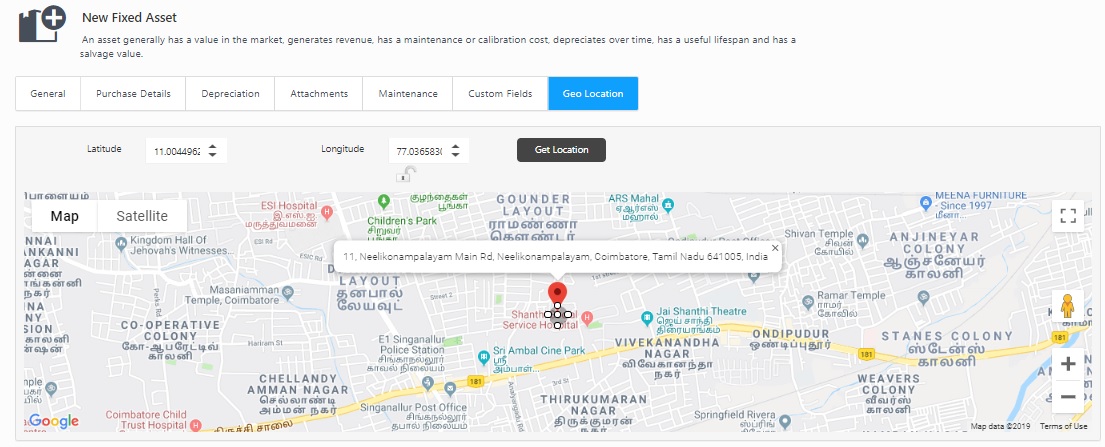
Once you allow the "know your location" pop-up, the Latitude and the Longitude values will automatically update. You can use the Lock symbol to lock the Latitude and Longitude values.

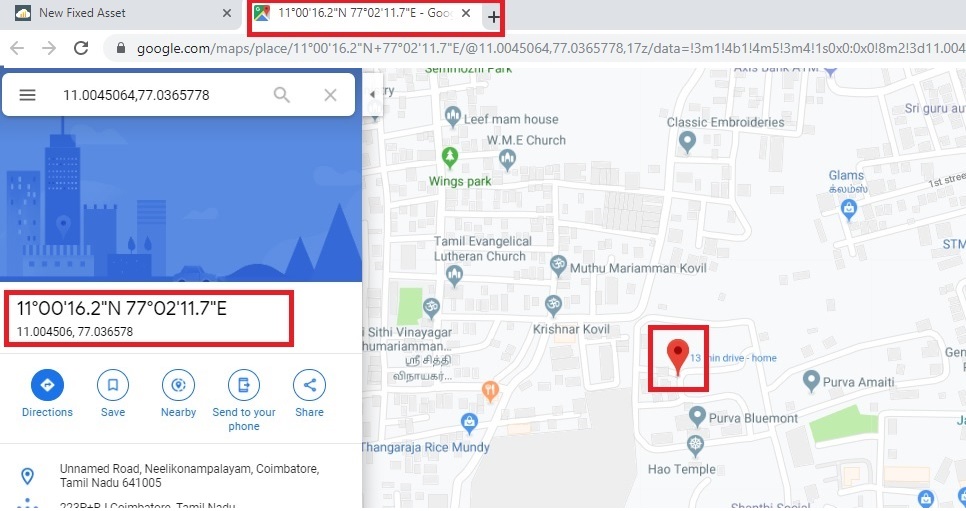
View Location - Click on the view location button to view the location in Google Maps. The location details will open in the new tab.
Updating Google API Key
To update the Google API key, click on the here link on the Geo Location tab. It will navigate to Settings > Assets > Google API Key screen. Enter the valid Google API Key and click on the validate key button. Refer to Google Maps API Key

On validating the key, the Geo Location tab will display the Google map.
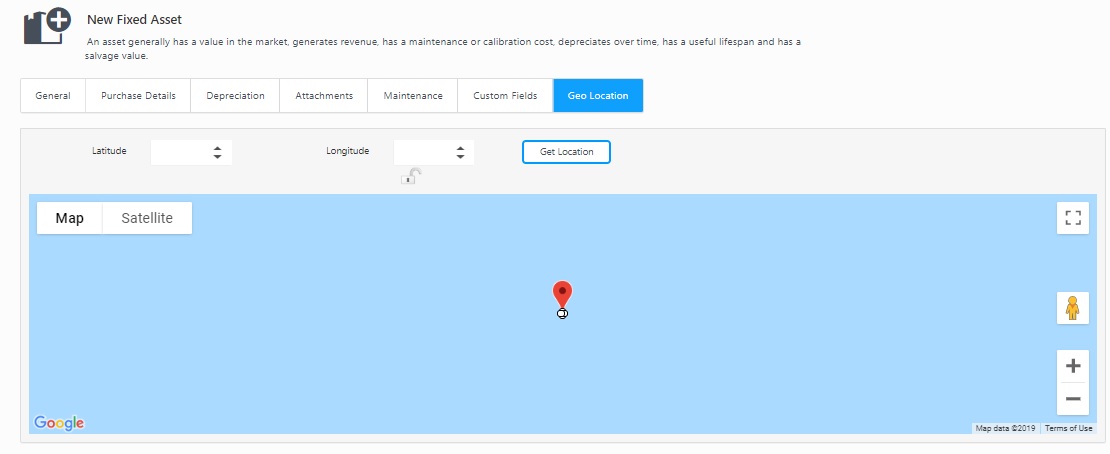
Click on the Get Location button or drag the pointer on the map to select the location. The latitude and the longitude value will get updated based on the pointer's placement in the Google map.
Note: When using Geolocation services from Desktop or Laptop computers or any other device that does not have built-in GPS hardware or a clear fix on satellites in the Sky, Google Maps will attempt to find an approximate address based on your Network and/or other attributes. This is just an approximation. For better results, use an iOS or Android Mobile Device with GPS outdoors, preferably on a sunny day or clear night. (Rain may also affect accuracy somewhat.)
Saving the New Fixed Asset
Once you enter all the required details, click on the Save button. A message will appear, indicating that the new asset is saved successfully.
Instant New Widget
This feature will work on autocomplete dropdowns in the New Fixed Asset or View/Edit Fixed Asset screen. If the system cannot find the entry typed, it offers an Add option to create a new entry. If the new lookup item has only one required field, it can be created immediately and added to the dropdown. E.g., for an owner Name, only the Name is required, so using the Add button, it can be added.
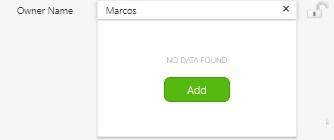
If the new lookup item has more than one required field, e.g., location. Then, the page will navigate to that particular Lookup screen. Once the user clicks on the Save button, the page will navigate back to the New Fixed Asset or View/Edit Fixed Asset screen, and the new entry will appear in the dropdown.

This widget will appear for the following fields:
- Manufacturer
- Department
- Condition
- Location
- Site
- Employee (Owner field)
FAQs - Refer to Knowledgebase - Knowledgebase > Cloud > AssetCloud for FAQs. Example: Working with Geo Location.
Note: Use of the resources described here requires internet access.


