Android Settings
Login to the AssetCloud
application.
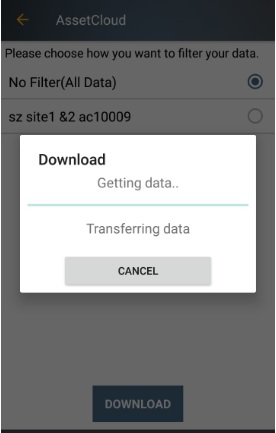
A screen will appear
asking you to choose how you want to filter your data. Select the data
and tap on the Download button.
Downloading Attachments
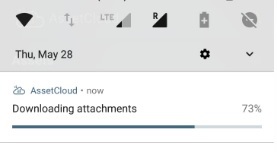
- In the web application, if the user has checked the Offline Mobile attachment
checkbox in fixed asset, multi-quantity
asset and/or asset types , then all
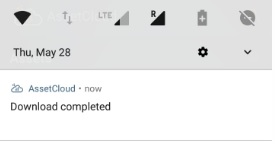
the attachments will get downloaded. The notification will appear on completion.
These attachment will be visible even offline.
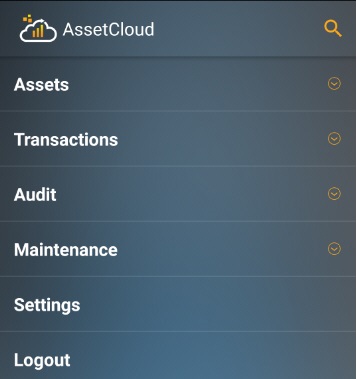
The main menu screen
will appear. Click on the Settings
option.
The setting screen will
appear.
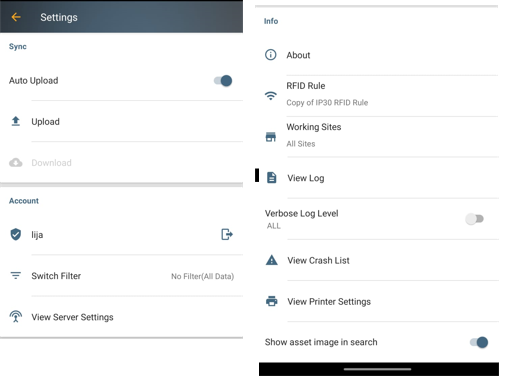
Sync
- Auto
Upload - Turn the Auto Upload feature on to enable auto upload
of data from the Asset Cloud App. to the Asset Cloud database. The
upload will take place each time you return to the main menu and select
a function.
Note
- When the network is available, all data
will be sent to the API regardless of the Auto-Upload state.
- When the network is NOT available, the
data will be saved in the local DB. When the network becomes available
and
- If Auto-Upload is ON, data will be sent
to the server when the user logs in or when switches between the menu.
- If Auto-Upload is OFF, the user will have
to go to Settings and upload them manually.
- Upload
-Tap the Start button in the Upload row to immediately begin a data
upload from the Asset Cloud app to the Asset Cloud database. When
the upload begins a progress screen will appear.
- Download - Downloads the Asset Cloud database.
This ensures that the most current Asset Cloud database is on the
device.
Account
- <Username>
- Tap the Logout icon next to your user name to log out of the Asset
Cloud app.
- Switch
Filter - The Switch Filter feature allows you to switch
the filter on the database.
Note: Filters
are setup from Mobility > Specify
Mobile Device Data Filters screen on the PC.
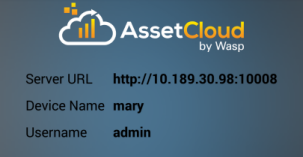
- View
Server Settings - This option
allows you to view the current server settings.
Info
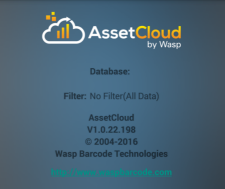
- About
- Tap on the About section to view information about the current
Database, Filter selection as well as the current version of the Asset
Cloud app.
- RFID
Rule - Select the RFID rule. Refer to Radio
Frequency Identification (RFID) topic for more details.
- Working
Sites - Select the Working Sites.
- View
Log - Tap View Log to view the Asset Cloud log page.
- Verbose
Log Level - The Verbose Log Level sets how much information
you want collected in the log file. Options are:
- All -
This will capture all data that can be logged. Keep in mind
that collecting all data can lead to a very large log file which could
slow down performance.
- Errors
- Captures errors only.
- View
Crash List - Tap View Crash List to view a list of any AssetCloud
app crashes.
- View
Printer Settings - Tap this option to view, setup or
change the current label printer settings.
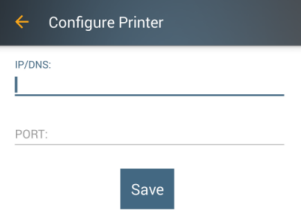
- On the Configure
Printer screen enter the following information:
- IP/DNS
- Enter the IP address of the label printer.s
- Port
- Enter the port the label printer is using.
Show asset image in search
- Turn this settings ON, if you want to view images of the asset in the
Search
Assets screen.
FAQs
- Refer to Knowledgebase
- Knowledgebase > Cloud > AssetCloud for FAQs. Example: How
to send logs from the Android app?
Note: Use of the resources described here require internet access.


