New Vendor
The New Vendor page allows you to add your vendors. A vendor can be an external entity or company that provides the organization with assets. These assets could be purchased or leased.
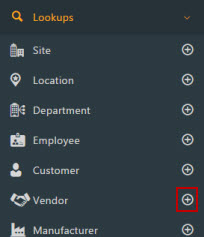
- Click on Lookups -> Vendor -> New button Or Lookups -> Vendor ->
 button.
- The New Vendor screen will appear.
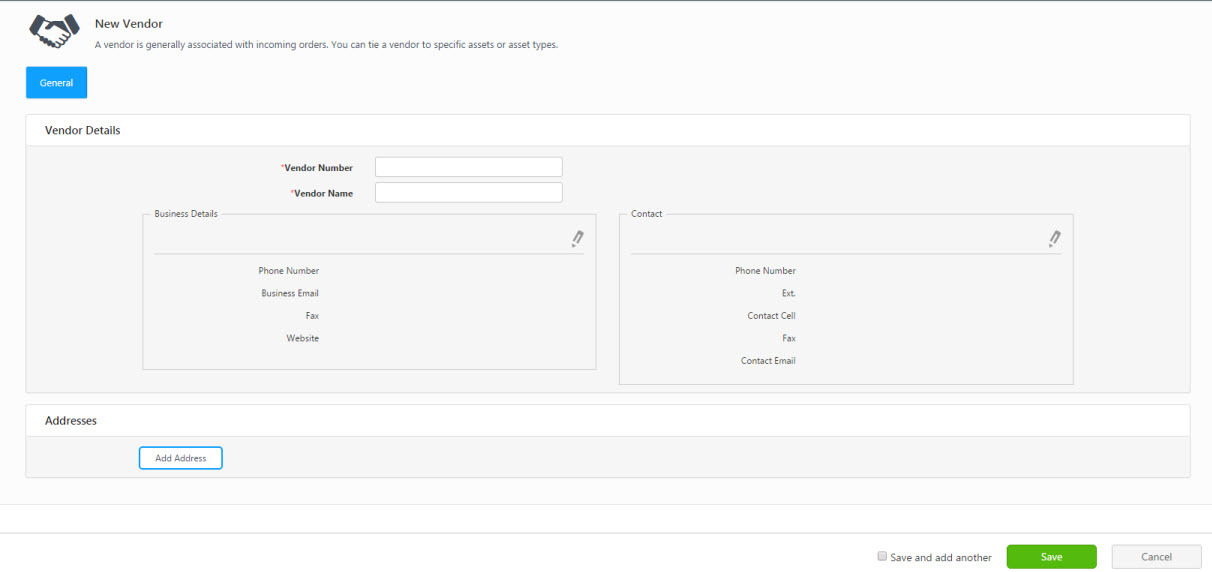
The General tab is where information such as name, address, and phone number are stored.
- Vendor Details
- Vendor Number - (Required) Enter the vendor number. The number is a unique identifier and can be letters, numbers, or a combination of both. Note that if the Automatic Numbering on the setting section is enabled, the system will generate a unique ID. However, you have the option to override this setting and manually input the number by using the Edit (pen icon).
- Vendor Name - (Required) Enter a name for this vendor.
- Business Details - Click on the
 icon to add and edit the details. All the text fields will appear. Enter all the details and click on the Update button.
- Contact - Click on the
 icon to add and edit the details. All the text fields will appear. Enter all the details and click on the Update button.
- Addresses
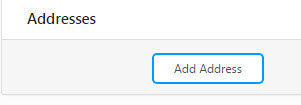
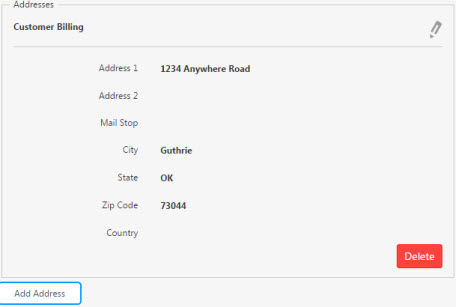
- Click on the Add Address button. You can enter multiple addresses.
- Additional fields will appear.
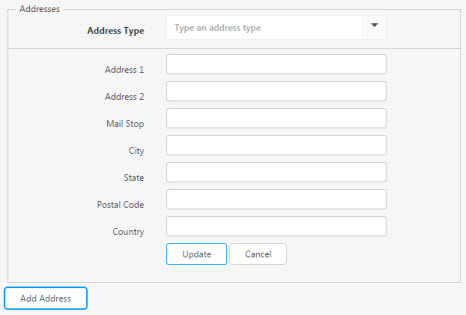
- Select the type of address in the Address Type field. Options are Vendor Billing and Vendor Shipping. Note - You can create a new address type by clicking in the Address Type field and entering a new name. You can edit an existing address type by selecting an Address Type from the drop down menu, clicking in the Address Type field, and typing in a new name.
- Enter the address details in the fields and click on the Update button.
- Click on the
 icon to edit the existing address.
- Click on the Delete button to delete the address. A confirmation screen will appear once you click on the delete button. Click on the Cancel or Delete button to delete it.
- Custom Fields Tab - Enter the details in the custom fields.
- Click on the Save button. If you want to create another Vendor, click on the Save and Add another checkbox before clicking on the Save button. In this case, the New Vendor screen will appear once you click the Save button.

A message will appear indicating that the Vendor has been created successfully.


 button.
![]()


