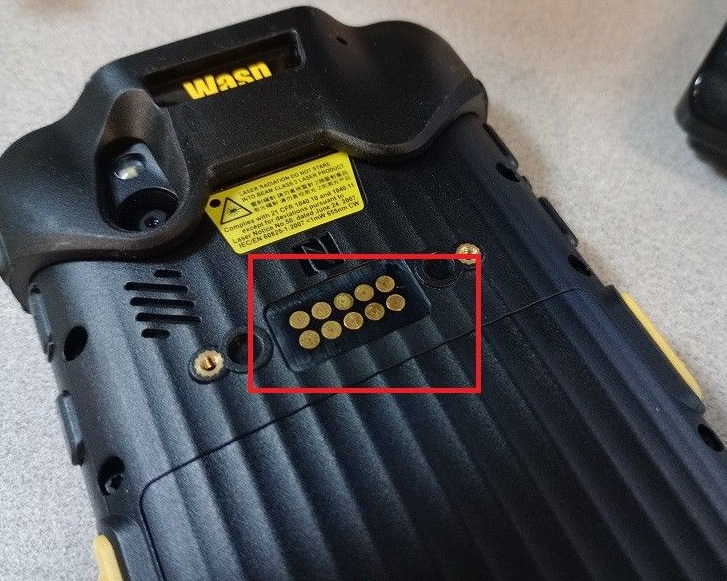
Note: The RFID features depend on the user purchasing a license for the RFID AddOn. To activate this feature, contact your Wasp representative. The tenant must have the RFID AddOn License and the user role must have permission (Users> Roles> Permissions> Mobile RFID Config).
<Device type="DR6" profile="RG768 warehouse">
<!-- To be enhanced to include more connection types like Bluetooth Connection, UART, RS232, ... based on examples -->
<Connection type="RG768UARTConnectionProcessor">
<DeviceIdentifier>
<!-- Allows identifying devices at runtime based on configuration properties | use one or more to identify a device -->
<Identifier name="Name">RG768</Identifier>
<!-- Reserved tags. this will be used in future for different device config-->
<Identifier name="Type" />
</DeviceIdentifier>
<Config>
<!--Power. Default value is 30-->
<Param name="Power">30</Param>
<!-- Session number to use for inventory operation-->
<!-- Use 0 for S0, 1 for S1, 2 for S2 and 3 for S3-->
<Param name="Session">2</Param>
<!-- Target can be set to 0 for A, 1 for B. It enables to increase identification rate-->
<Param name="Target">0</Param>
<!--Q value - parameter used to regulate the probability of tag response. Default value Q value 4.-->
<!-- Dynamic : Reader adjusts Q value automatically when scanning. Fixed : Q value will be constant-->
<!-- Use 0 for Fixed, 1 for Dynamic.-->
<Param name="Q">1</Param>
</Config>
</Connection>
<StreamProcessor type="RG768StreamProcessor">
<DataParser>
<!-- Specify which rule name from scan parsing xml should be used when parsing RFID tags-->
<parseRule>parse_rule</parseRule>
</DataParser>
</StreamProcessor>
<MessageProcessor type="RG768MessageProcessor">
<!-- The following messages represent the various ranges that can be controlled via the UI | these are outbound -->
<Message type="Outbound" name="Range" value="30" />
<Message type="Outbound" name="Range" value="20" />
<Message type="Outbound" name="Range" value="10" />
</MessageProcessor>
</Device>
Also, refer to the following topics for more details:
Radio Frequency Identification (RFID)