Add Asset Quantity
Complete version of Asset Cloud only.
This feature allows you to add quantity to your multi-quantity assets. Unlike multi-quantity assets, purchase details are not added when creating a new multi-quantity asset. You can include purchase details (such as cost and vendor) when you add quantity to your asset. This allows you to have varying purchase information for different quantities. For instance, you may purchase 100 folding chairs from vendor A for $200, then later purchase 100 more folding chairs from Vendor B for $150. Entering the purchase information when you add the quantity allows you to keep track of the differing purchase dates, costs, etc.
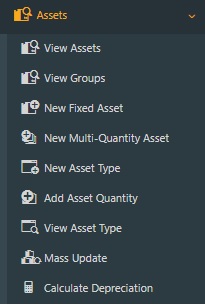
- Click on Assets > Add Asset Quantity.
- The Add Asset Quantity screen will appear.
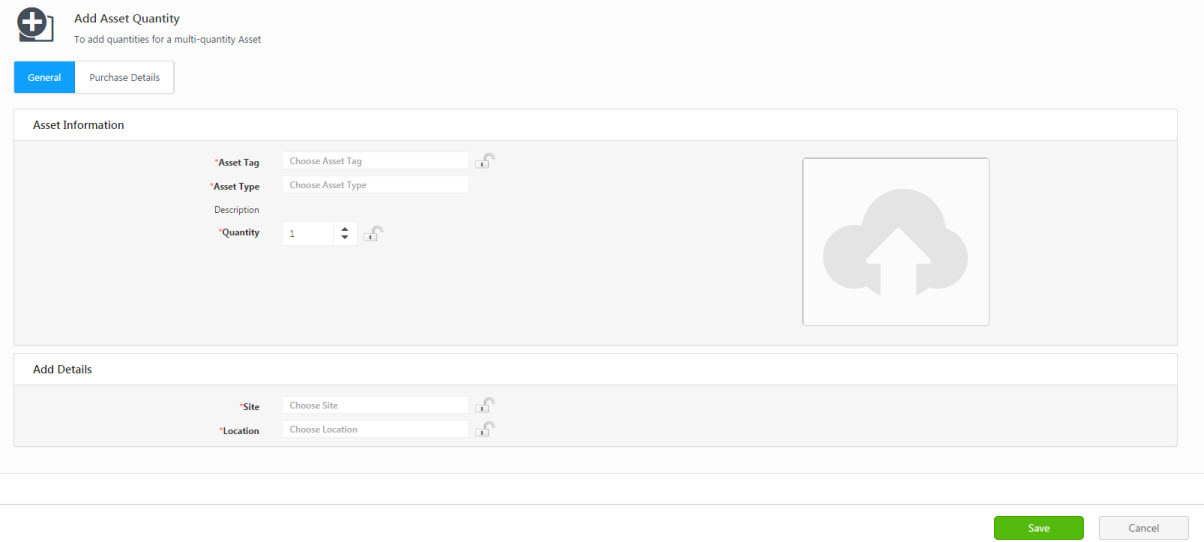
Note that certain fields on this screen have the option to be "locked." When a field is in the locked state, it will preserve the data you've input for future transactions. This feature comes in handy when you're either adding multiple assets to a specific location or checking out several assets to a single customer. To lock a specific field, simply click on the lock icon. If you want to lock all fields with this icon at once, you can use the Lock All button for quick action. Conversely, if you wish to unlock all the fields to allow for new information, you can select Unlock All.
For guidance, click here for information on how to lock fields.
General Information Tab
- Asset Information section
- Asset Tag (required) - Enter the asset tag of the asset to which you want to add quantity.
- Asset Type (required) - Enter the asset type to which you want to add quantity.
- Description - Enter the description.
- Quantity - Enter the Quantity you want to add.
- Add Details section
- Select site and location (required).
Purchase Details Tab
- Click on the Purchase Details tab to enter purchase order information.
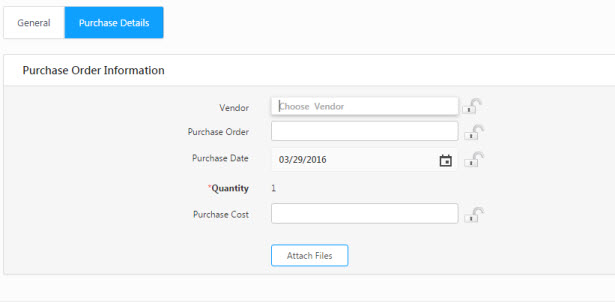
- Vendor - Select the vendor from whom you purchased this asset. You can type a full or partial name in the Vendor field to see a list of matching vendors or add a new vendor.
- Purchase Order - Enter the order number for this purchase.
- Purchase Date - Enter the date that this asset was purchased. Enter the date in dd/mm/yyyy format or click the Calendar icon to select a date.
- Purchase Cost - Enter the purchase cost for this asset.
- Attach Files - You can add a file, such as a copy of the purchase order, receipt, etc.
- Click on the Attach File button.
- The Attach Files screen will appear. Use the Drag and Drop or Select File option to add the attachments.
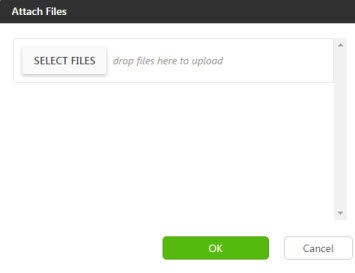
- Click the Select Files button to open the standard Windows Explorer window. Navigate to the file you want to add, then click Open. Or you can drag a file from a folder in Windows Explorer and drop it into the Attach Files window. Make sure the Select Files area is highlighted before dropping, as shown below:
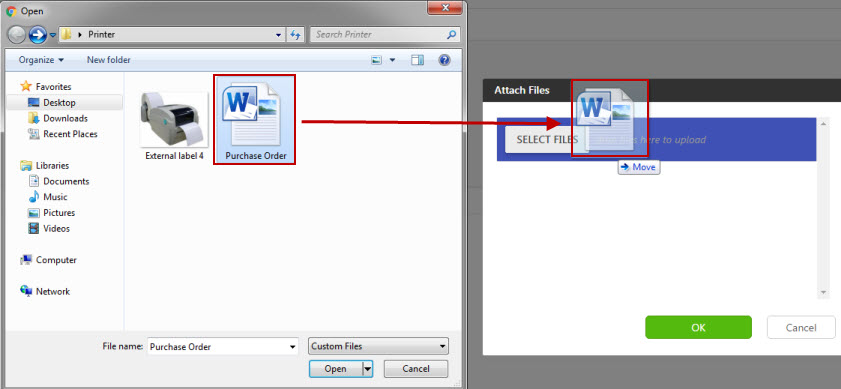
- Files you have added will appear in the Attach Files window. Click OK to add the files to the asset.
- Click Save when you are done adding all the information. The quantity will be added to the selected multi-quantity asset at the specified site and location.
- The View/Edit Multi-Quantity Asset screen will appear, showing the new Location/Quantity information.
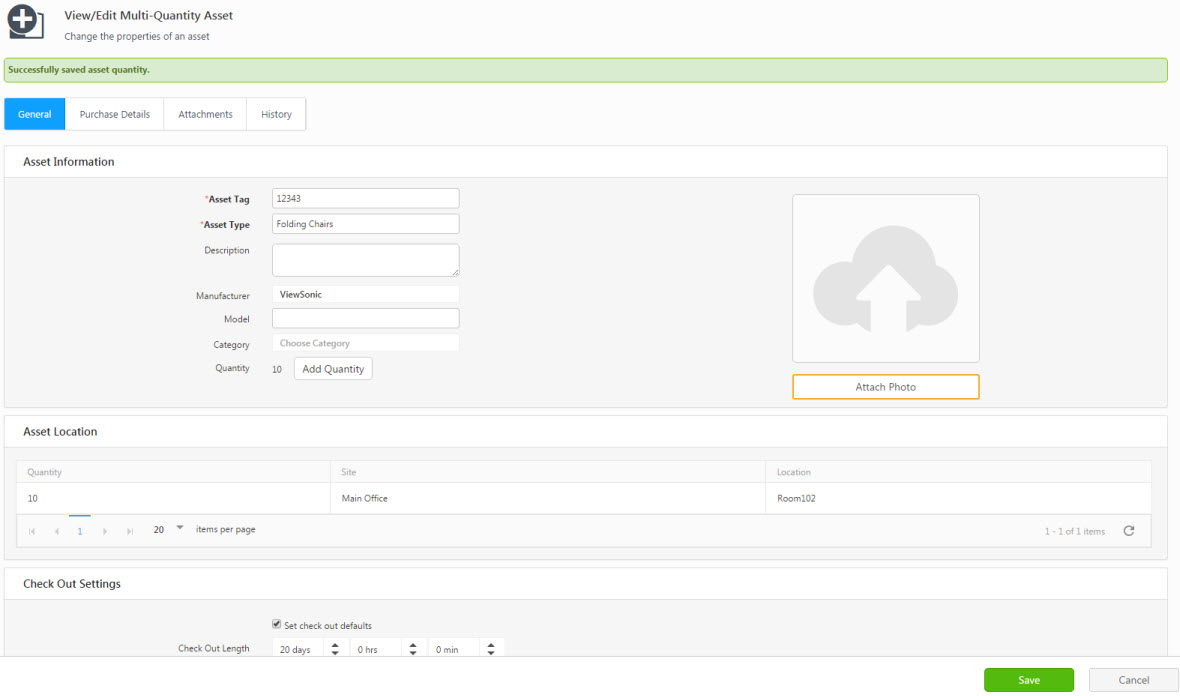
- Click on the Save button at the bottom of the View/Edit Multi-Quantity Asset screen.


