

The Check Out Asset transaction provides the ability to check-out assets to a customer or employee, specifying a Due Date and Due Time by which the asset should be checked-in.
You have two options for checking out assets, Check Out and Quick Check Out.
Check Out allows you to check out assets to an employee, vendor or customer, then view the Summary screen where you can collect a signature and/or print a receipt.
Quick
Check Out can be used when you
have many assets you want to check out to different customers/employees
without worrying about gathering signatures on each one. This mode allows
you to select a customer or employee and check out the asset without having
to collect signatures or view the summary screen for each transaction.
Note: Quick check out is not available
if the Require
a Signature on Device is set to Yes on the Options screen.
Check Out
From the Main Menu, tap on the Transactions > Check Out.
The Check Out screen will appear.
Check Out tab
Checkout To - By default, the Check Out screen is set to Customer. You can also switch to Employee or Vendor by clicking on the down arrow.
Enter the Customer/ Employee/ Vendor name. Scan or enter using the keyboard or search for a customer, employee, or vendor. You can also add a new customer/ employee/ vendor name.
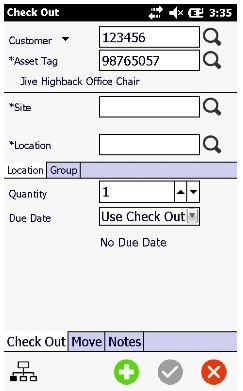
Enter or scan the Asset Tag or click on the magnifying glass icon to access the Search Asset screen. The Search Asset screen will appear. Search for the asset and tap on the asset tag number. The asset can be a fixed asset, multi-quantity asset or a group/asset in a group.
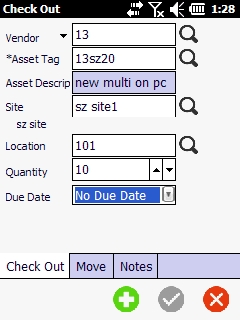
Note - The available quantity will be displayed under the quantity field. The site, location and quantity field will not appear for fixed asset.
Example: Consider that there are 3 groups - Container 1, Container 2, Container 3. Container 1 and Container 2 are Transact as whole.
If you select Container 1, the parent group i.e Container 2 with transact as whole feature enabled will get selected. Note that you can also select Container 1, Container 1 with no sub-items using the group widget.
Example: Consider that there are 3 groups - Container 1, Container 2, Container 3. Container 1 and Container 2 are Transact as whole. Container 3 is not transact as whole. So on selecting container 3, whole group gets selected. You can also select Container 3 with no sub-items. The View Group button will display the grouped assets.
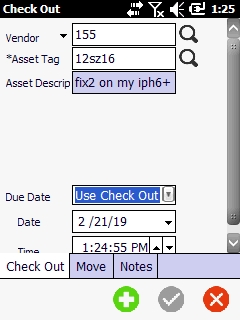
Due Date - By default, the due date is set to Use Check Out Length, if a check out length was set for this asset type. The default can be accepted or overwritten if necessary. Tap the dropdown arrow next to the due date field to change the due date option. The options are Use CO Length, No Due Date and Custom.
Move Tab
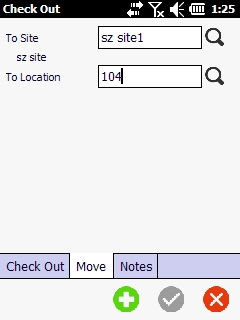
Move To - Location
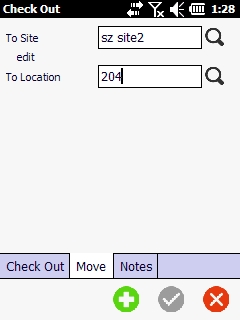
Move To - Group
Notes
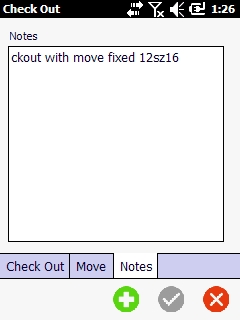
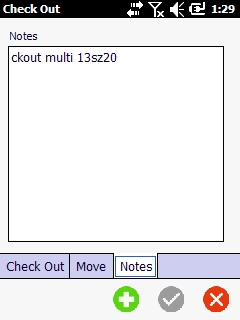
When you are finished entering information for the asset, tap on the green plus sign icon at the bottom of the screen. You can now check out another asset if needed. When you are done checking out assets, tap on the tick mark icon. The Check Out Summary screen will appear.
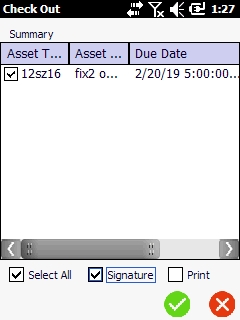
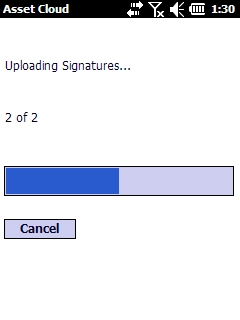
Depending on the Asset Cloud web options, you may be prompted to obtain a signature or a signature may be required. If you are prompted to obtain a signature, tap on the Yes on the prompt screen. If you are not prompted but want to add a signature or print a receipt, check the Signature and/or Print radio buttons.
Tap on the green tick mark icon.
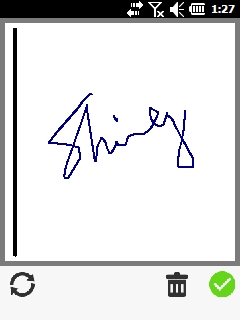
If you have enabled collecting a signature, the signature screen will appear. You can also change the orientation of the signature line by clicking the circle icon in the lower left corner of the screen. Get the signature. If you are satisfied with the signature, tap on the green tick mark icon. If you want to erase the current signature and try again, tap on the trash can icon.
If you have enabled printing a receipt, the Printer Options screen appears.
After collecting a signature and printing a receipt the session is closed and you will be returned to the blank check out screen.