Prerequisites
To use a SAML ID Provider Application in your tenant, the prerequisites need to be satisfied.
- Your Wasp user accounts must have the same email address that is returned by your SAML 2.0 provider.
- Optionally, to use added security, the Role of your Wasp user account must match a role returned by the SAML 2.0 provider.
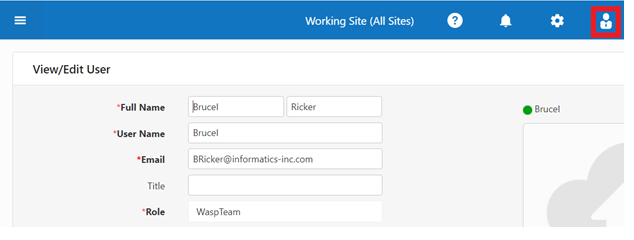
- To verify the Wasp values for the current user, click on the user icon on the upper right-hand side of the screen. Click on the name displayed under it. it will navigate to the View/Edit User screen.

- If the email is wrong you should invite the user using the correct email or change it.
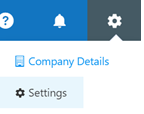
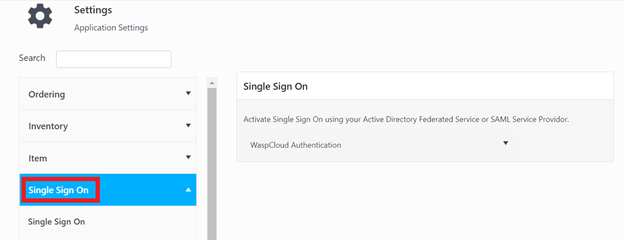
- Once these prerequisites are satisfied, access the Single Sign-On (SSO) in the application settings. In the upper right corner of the screen choose Settings.

- Select ‘Single Sign-On’.

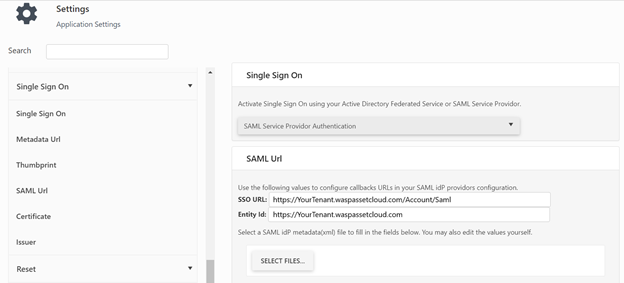
- Click on the ‘WaspCloud Authentication’ dropdown and select ‘SAML Service Provider Authentication’.

Note: Please note that If SAML is selected, the login screen will not appear. The login screen will appear when the Single Sign On setting is changed back to WaspCloud.
- If you do not have access to a SAML IdP Service provider to configure WaspCloud as a Service Provider (SP) , Ask your administrator to provide you with the SAML IdP Service provider Metadata file.
If a Metadata file is not available ask your SAML IdP Administrator for the SAML URL, 509 Certificate and Issuer values appropriate for your SAML IdP Service provider. Then proceed to Settings Import and Validation.
If you need to setup up your SAML Service provider copy the SSO URL and Entity ID shown and see Configure SAML IdP using Google App, Configure SAML IdP using OneLogin or Configure SAML IdP using ADFS/Azure for a description on how to set up that SAML connection back to Wasp Cloud.


